

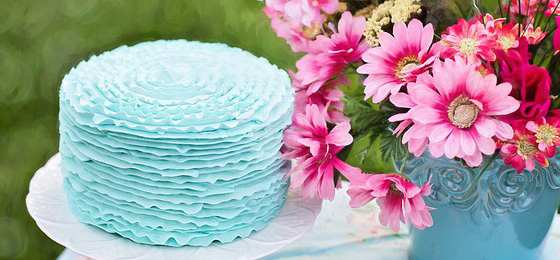
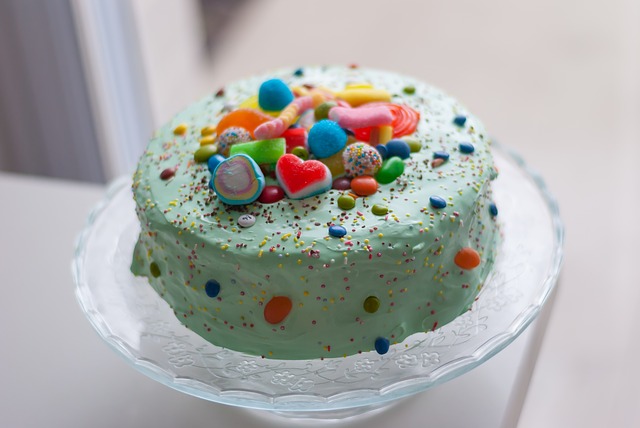
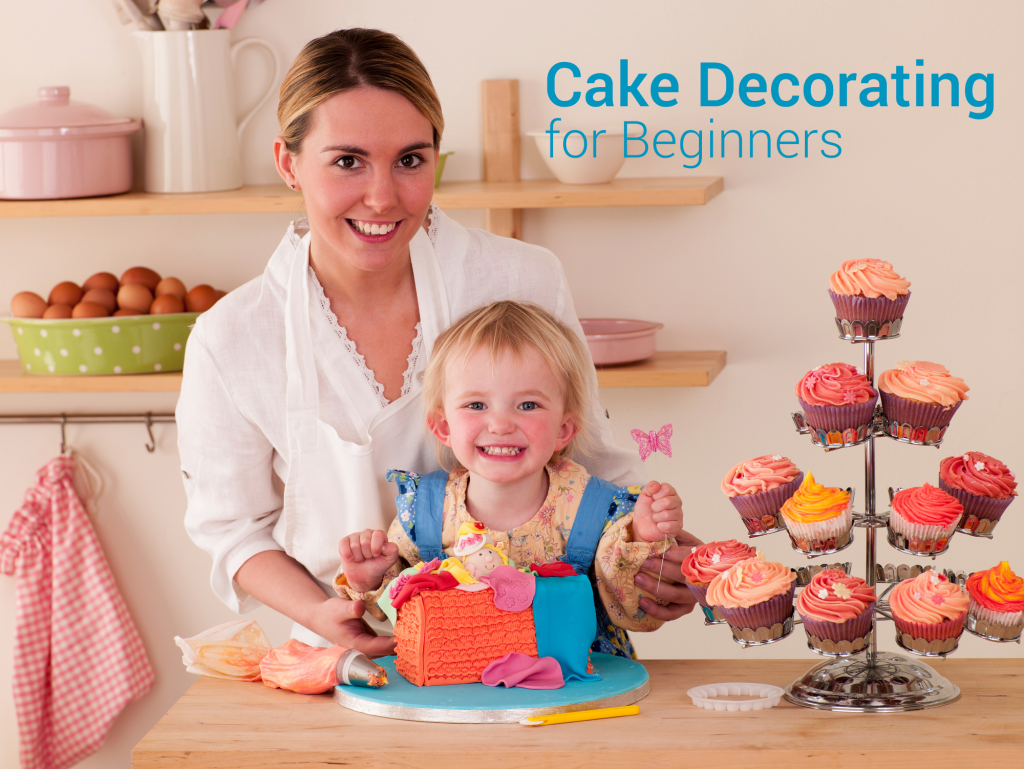
Cake Decorating Classes Austin Texas
Some people say that the first steps in cake decorating were taken in the XVII century, but there is a book considered to be the first written description of the modern pastry, Le Pâtissier Royal.
This book was published in 1815 by Antoine Carême, who drew most of the illustrations. Because he was criticized because of their quality, he took art lessons before publishing his next book Le Pâtissier Pittoresque.
Le Pâtissier Royal was 400 pages, a two-volume book. It was so popular that a second edition had to be printed 3 months later.
It included a significant repertoire of recipes that allowed, along with technology, tools, and specialized products, to produce great designs that made the pastry reach an important development for that time period.
During the eighteenth and nineteenth century, cakes were masterpieces that displayed ingenuity, creativity, great refinement, and taste. Pastries were specially made for important celebrations and great lords. Many pastry shops known today began in the nineteenth century.
It would be throughout the XIX- XX century that a series of discoveries and technical developments took place, like efficient cooling, fermentation, preservation, freezing and allowing the domain of cold, heat, fermentation, preservation and freezing, which encouraged that further progress could be made in the pastry industry, increasing productivity and the quality of the baked goods.
My advice for novice bakers is to set aside their fears of making mistakes and patiently and carefully undertake the fun adventure of designing and cake decorating. At the end awaits the most gratifying rewards: to see a gorgeous creation that you made with your own hands.
Cake Decorating Designs
It is not a secret that the internet is full of a lot of inspiring ideas for cake decorating for any occasion. Some blogs, specialized in pastry, share some cake decorating designs step by step to help you recreate it. Here are some really wonderful designs that you can try for your next projects.
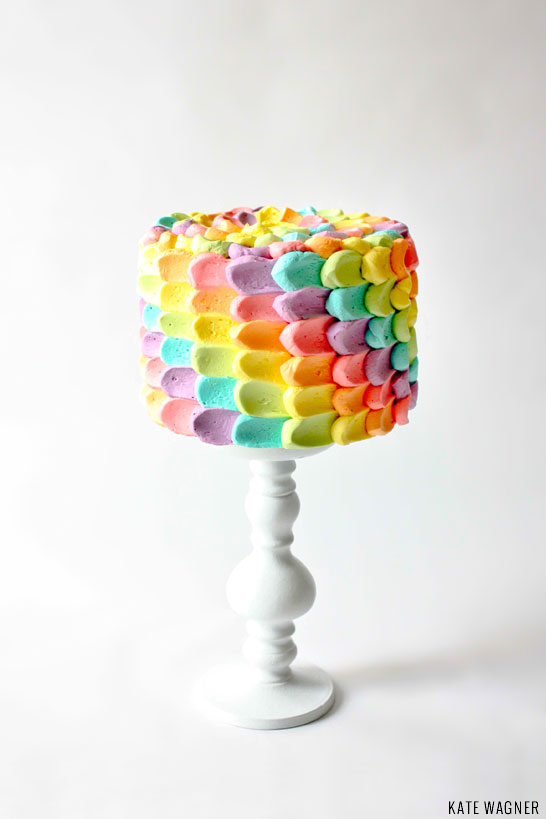
DIY Rainbow Petal Cake
I love this cake. It is perfect for a birthday or for Easter. I think is perfect for any celebration. This DIY Rainbow Petal Cake is so colorful, you are going to love it. The step by step is very clear and it shows that this cake decoration is very easy to make.
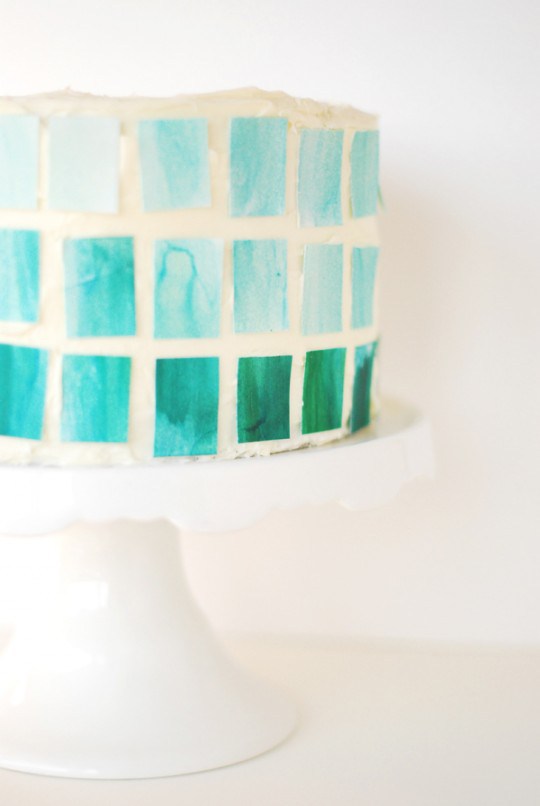
DIY Watercolor Ombre Mosaic
It is time for trying some edible materials. This gorgeous DIY Watercolor Ombre Mosaic design is made with edible paper.
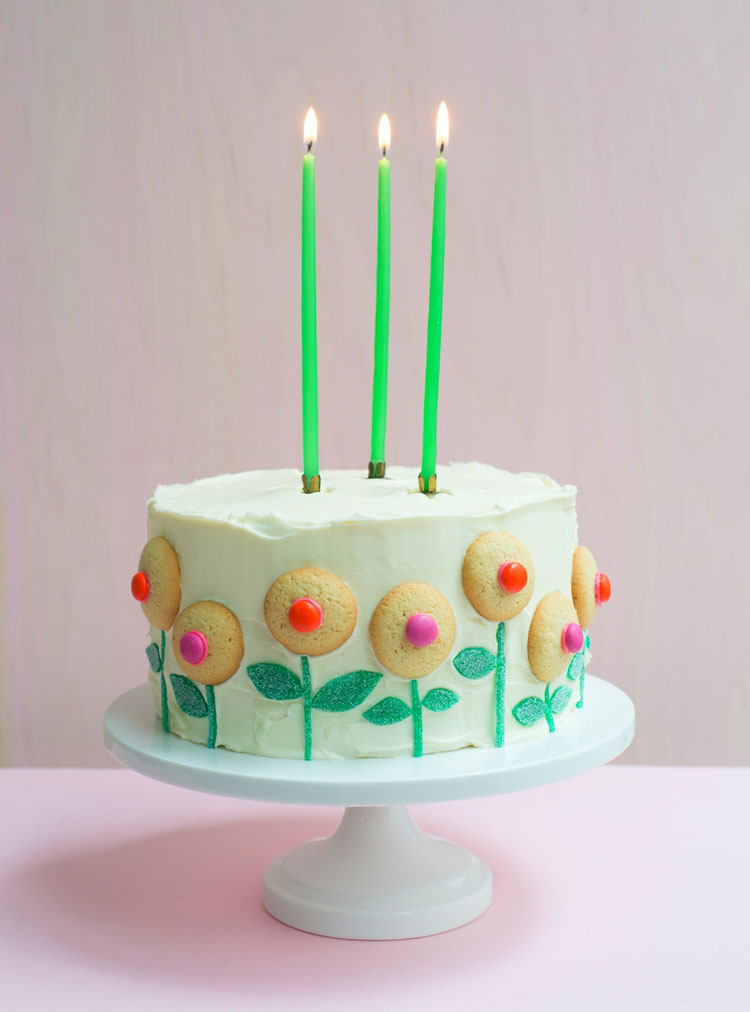
Fun Cookie Flower Craft
This adorable cake will give you some time to relax while making some craft. When you don't have fresh flowers to decorate a cake, this is very fun idea. The flowers are made with cookies, candy and M&M's. You will need some icing to cover the cake and some to use as a "glue" for sticking the M&M's onto the cookies. The kids will love thisfun cookie flower craft.
Cake Decorating Ideas
-
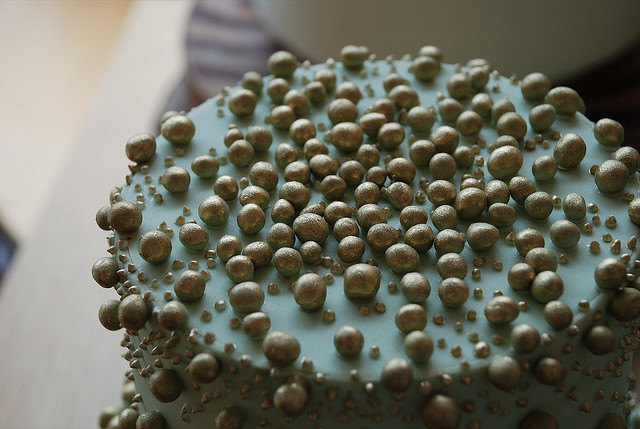
Image by advencap
The possibilities are endless when searching for cake decorating ideas to inspire ourselves for current or future projects (like our next cake for the Christmas dinner). You can use Kit Kat, Reese, caramel shapes, sweets, marshmallows, fresh flowers, etc. Here there are some beautiful ideas that can work perfectly and are easy to make.
Cake Decorating with Fruits
Strawberries are usually the most popular fruit used to decorate cakes but, some other fruits are beautiful and full of color. You can combine a beautiful icing design and top it with fruits arranged in a cool way, and as you can see in the picture below, with a plastic sheet, you can even write a message.
-
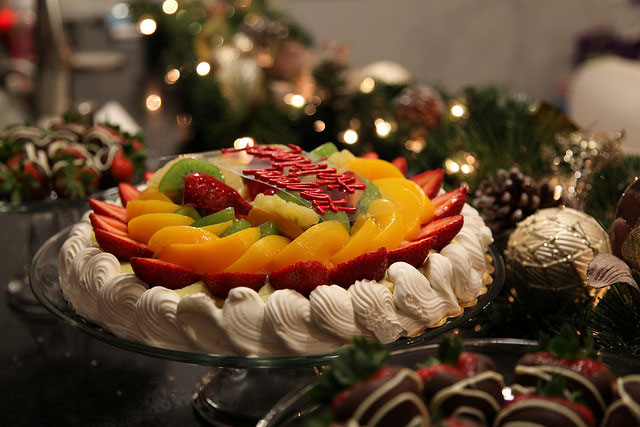
Image by jennie-o
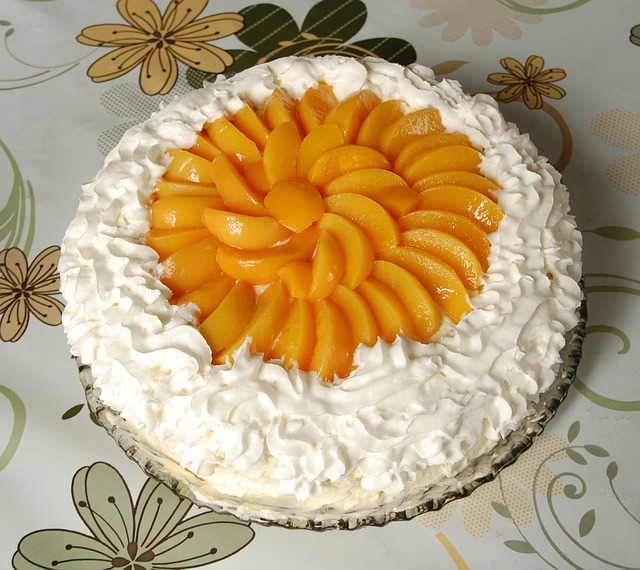
-
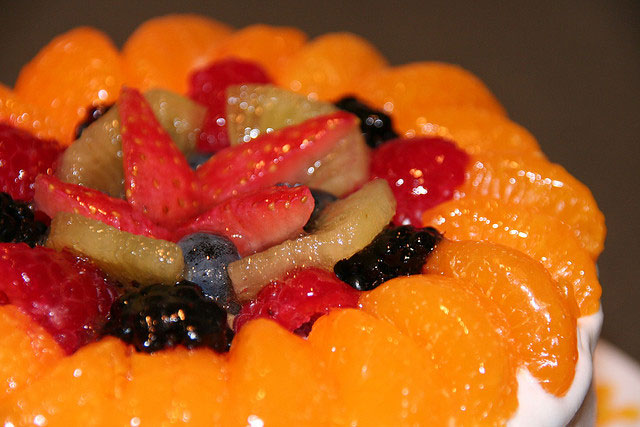
Image by Yoko
Cake Decorating with Cookies
You can also use cookies to create funny and cute cake decorations.
-
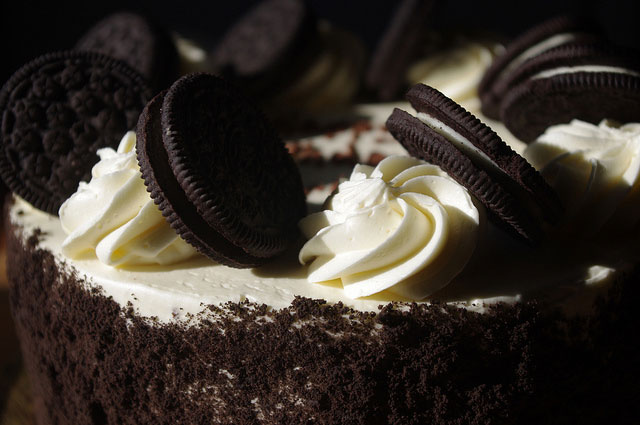
Image by Dave Gammon
-
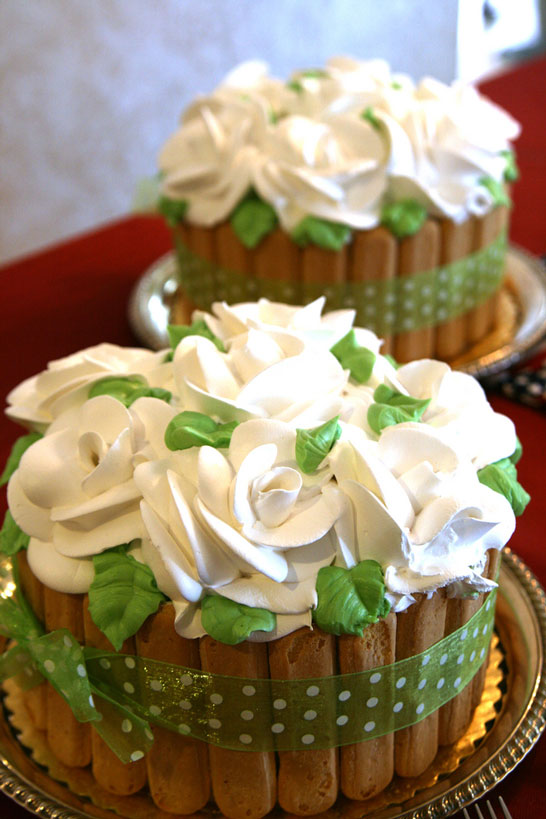
Image by Quinn Dombrowski
Cake Decorating with Gummy
These ideas are perfect for kids. They are going to love to see a cake with a lot of colorful and delicious gummy.
-

Image by Raspberri Cupcakes
Cake Decorating with Stencils
You can also decorate a cake using stencils and powdered sugar, cocoa or other materials that can work for this purpose, like royal icing. Another use for a stencil is for painting really amazing decorations over fondant.
-
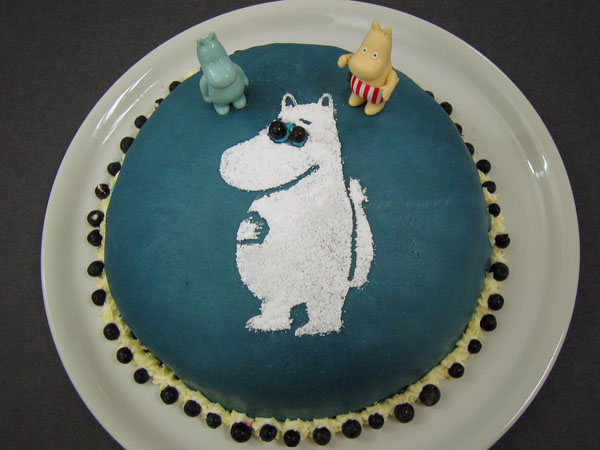
Image by Elaine Ashton
-
Image by Paul Heaberlin
-
Image by mags
Cake Decorating Supplies
-
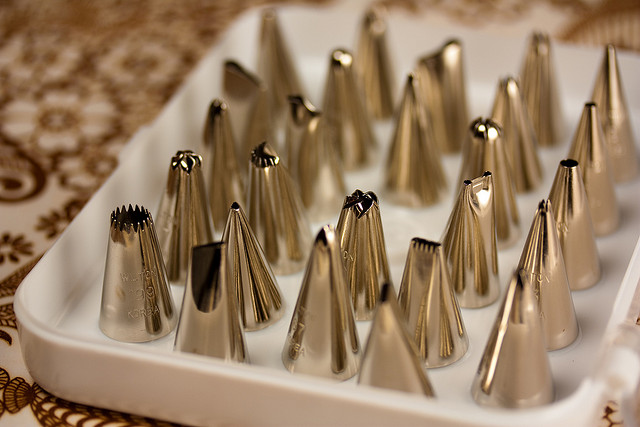
Image from veganbaking.net
If you want to learn this beautiful and popular art, you need to know the list of cake decorating supplies you need. It will be like a building under construction, growing every day according to your needs and the techniques you will end up working with.
The essential tools for starting:
- Pastry bag (fabric or disposables)
- A basic set of decorating tips
- Set of spatulas
- Food coloring
- Turntable Stand for the cake
- Cutters in different shapes and motives
To make the most of all the cake decorating equipment you buy, or already have, learn their functions and the methods in which to use them, so you can really feel confident and create something that reflects your style in an original idea.
Cake Decorating Recipes
-
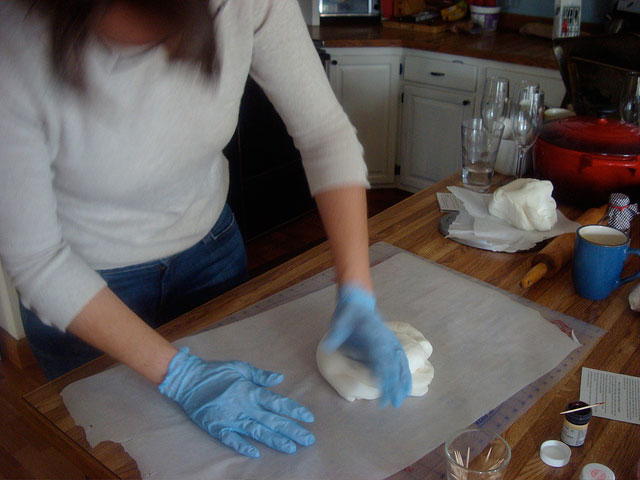
Image by mazaletel
In cake decorating it is important to have a gorgeous exterior and there are a lot of recipes for the decorating elements. But an impeccable interior is essential too, it is like real life; the beauty comes from the inside, it reflects. You need to take care of every single detail to get a perfectly shaped, fluffy and delicious cake.
Always be sure to follow the instructions on the cake recipe. This will result in a neat, clean cake, ready for frosting. Use delicious fillings that match the cake flavor, also, a good sugar syrup to wet your cake and keep it moisturized.
Here there are some delicious fillings to complement your cake decoration.
Filling Creams Recipes
Custard Cream
-
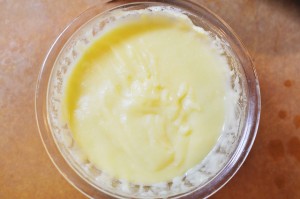
Image by yoppy
Ingredients
500ml whole milk
4 ½ oz granulated sugar
4 egg yolks
½ stick vanilla or vanilla essence
1 ½ oz all-purpose flour
Preparation
- In a large pot, pour the milk, add the vanilla, and take to a medium heat until it boils.
- In a bowl, pour the egg yolks and sugar. Whisk until all the mixture is light in color.
- Add the flour to the eggs and mix carefully.
- When the milk begins to boil, remove the vanilla (if you used the stick), take the pot down from the kitchen, and slowly pour just a little hot milk into the egg and flour mixture. This will help to set this mixture for the hot temperature. Mix well.
- Add the mixture to the pot with the boiling milk, take it back to a medium heat, and cook it for a couple of minutes. Keep stirring while cooking.
- When your cream is ready, cover it with plastic wrap, and take it into the freezer. This will pasteurize your cream. You can store it in the fridge for two days maximum in case you're not going to use it immediately.
Passion Fruit Cream
-
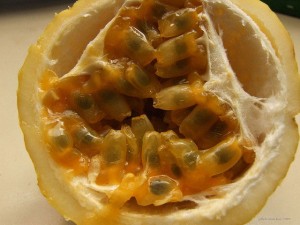
Image by SantaRosa OLD SKOOL
Ingredients
- 2 cup of passion fruit juice
- 4 spoons of cornstarch
- Enough caster sugar to sweeten the cream.
Preparation
In a sauce pan, cook all the ingredients while stirring thoroughly until it gets creamy. Let it cool down before using it.
You can also prepare this cream with orange, lemon, or pineapple.
Almond Cream
-
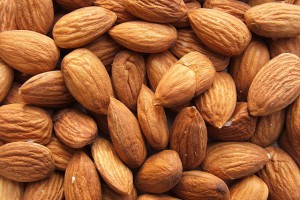
Image by Luigi Chiesa
Ingredients
- 1 can of condensed milk
- 100g slivered almonds
- 4 spoons milk powder
Preparation
Heat the condensed milk and add the milk powder. Stir until you get a thick cream then add the almonds and let cool down.
For the fillings, you can also use a Swiss meringue buttercream with the flavor you want to add to it.
Royal icing
-
Image by Nils Gore
This is cream, or foam, with a very high proportion of sugar. Its texture varies according to the amount of sugar.
Ingredients
- 2 egg whites
- 3 cups powdered sugar
- Lemon juice
Preparation
In a bowl, put the egg whites and lightly beat them with an electric mixer or metal whisk until it gets foamy. Then incorporate a powdered sugar, sifted, until it takes a thick consistency. Add lemon juice and continue beating until peaks form; that way, it will be easier to decorate using a piping bag.
Tips:
- If you would like to flavor and color the Royal Icing, use special coloring and flavoring for pastries.
- If the royal icing is too thick, you can add some more drops of lemon juice.
Buttercream
-
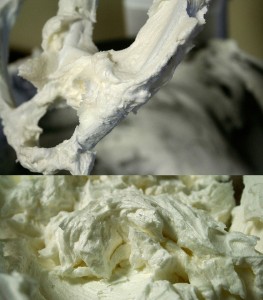
Image by Ginny
Ingredients
- 140g butter
- 280g icing sugar
- 2 tbsp milk
Preparation
- In a bowl, soften the butter with an electric mixer or a metallic whisk.
- Keep beating while adding half of the icing sugar.
- When the first half incorporates and the mix is smooth, add the other half of the icing sugar and one tablespoon of the milk.
- Beat the mixture until creamy and smooth.
Almond Buttercream Frosting: add 1/2 to 3/4 teaspoon almond.
Lemon Buttercream Frosting: use 5-6 tablespoons lemon juice instead of the milk and 1 teaspoon grated peel.
Orange Buttercream Frosting: use 5-6 tablespoons orange juice instead of the milk and add 1 teaspoon grated orange peel.
Peanut Butter Frosting: 1/2 cup peanut butter instead of the butter and use 6-8 tablespoons milk.
Peppermint Buttercream Frosting: use 1/2 to 3/4 teaspoon peppermint extract instead of the vanilla.
You can also try the delicious Swiss meringue buttercream, it has a very nice consistency and you can also color it or add the flavor you want.
The consistency of the buttercream
To make the perfect buttercream, it is necessary to consider some factors, such as humidity, temperature, and proportions of ingredients, to get the best consistency.
At first, you might try different consistencies to find what you think is best. Buttercream is a great recipe to make ribbon frosting and other decorations according to its consistency.
Hard consistency: For vertical decorations in the shape of roses, petals, and other ornaments that need a heavy consistency. If it is too soft, the decor will tend to fall; if it is too hard, you will notice that it cracks. The key is to experiment until you find the right balance.
Medium consistency: Used to cover the cake completely and for flat ornaments. To get the right consistency, it is recommended to add milk or water.
Light consistency: Perfect for writing a message on the cake. Its soft consistency gives you the ability to write or do fine and delicate strokes.
How yo use a pastry bag?
-
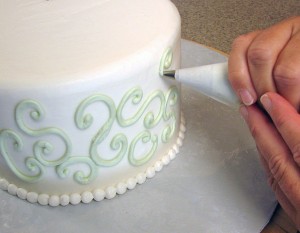
Image by Michael Prudhomme
Hold the pastry bag with both hands, never lean it on the cake, and keep it a few centimeters in the air.
Always make a small test before commencing to know how much pressure you must apply and handle it well.
If the filling of a cake has milk, eggs or fruit products, it is not recommended to let it stay more than 12 hours outside the refrigerator, as it decomposes easily. And, moreover, the cooled cake hardens, so it's always best to try to prepare it as close to the event or celebration.
The cake has to cool down before you cut it for the filling process, or it will crumble.
Cake Decorating with a Pastry Bag: Basic Decorations
-
-
video caption from www.bhg.com
There are so many tips that you will need to find a guide or tutorial just to get to know the types, numbers, and what can every tip do. Definitely is important to master the use of a pastry bag to learn how to decorate your cake with icing. Let's cover some basic decorations you can start trying.
-
Simple flowers
-
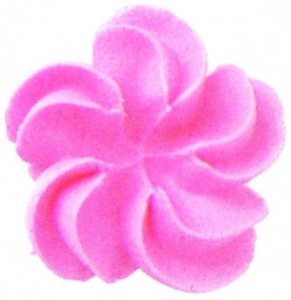
Image from wilton.com
This motif is easier to do for a beginner and always looks nice on a cake top adorned with these smooth or ruffled flowers.
Attach the tip for simple flowers on the piping bag. Hold it vertically over the cake you are decorating, touching the top of the cake. Squeeze the piping bag, keeping the tip on the top of the cake to form the flower petals, stop the pressure immediately and remove the piping bag.
Leaves
-
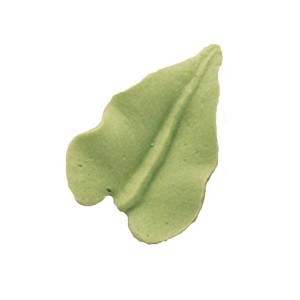
Image from wilton.com
The leaves are usually formed using a tip with a V shape opening. This allows it to get the pointed end form that characterizes the leaf pattern. The edges may be smooth or corrugated. This tip is also used to make nice borders.
Using a tip for leaves, hold the pastry bag at an angle to the top of the cake to be decorated. Squeeze and hold the tip in the same place for the cream to spread and form the leaf. Reduce the pressure while removing the tip and lift it slightly to form the pointed end of the leaf.
Rosettes
-
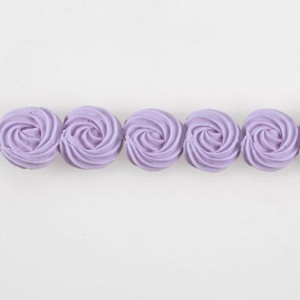
Image from wilton.com
Attach the tip for stars to the pastry bag. Fill the bag with icing or cream. Squeeze, applying an even pressure to form a circle. Without stopping, give the cream a spiral shape, making a small circle with the other. End by forming a peak as the pressure decreases.
Petals
-

Image from wilton.com
With the tip for petals, you can draw roses, violets, carnations and other flowers. It can also be used to form ribbons, bows, and ruffles.
Stars
-
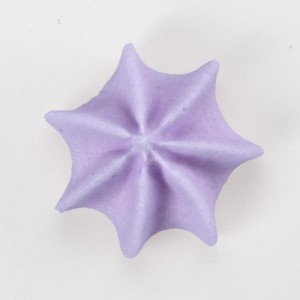
Image from wilton.com
Using the tip for stars, you can also make rosettes and other flowers, as well as cords, marine forms, and geometric shapes such as zig-zag.
Simple designs: freestyle
Attach the tip for writing and hold it at an angle of 45 degrees to the surface. With the tip slightly raised, squeeze the pastry bag by applying pressure evenly. Then trace with the tip the design you want. To finish, stop pressure on the pastry bag and remove it from the surface.
Shell Edge
-
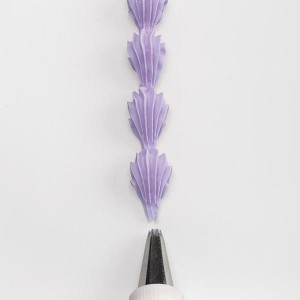
Image from wilton.com
Use a star tip and hold the pastry bag at an angle of 45 degrees. Press firmly and uniformly to create a wide base. Raise the tip and reduce the pressure to form the tip.
Reverse Edge Shell
As the edge above, but these shells alternately lean to the right and left.
Beaded edge
-
Image from wilton.com
Using a writing tip to create the beads. The size depends on the pressure you apply on the pastry bag.
Zig-zag
-
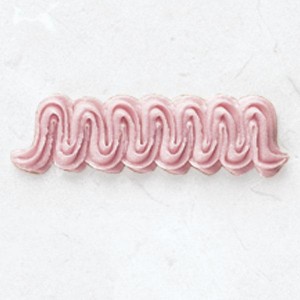
Image from wilton.com
Use a star or writing tip and hold the pastry bag at an angle of 45 degrees. Press the pastry bag uniformly moving from side to side to create a zig-zag.
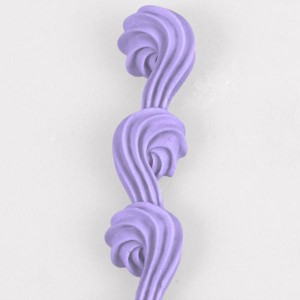
Rope Edge
-
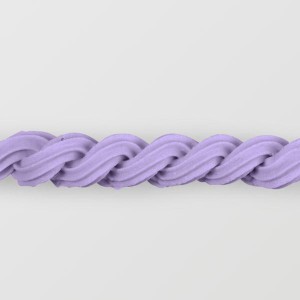
Image from wilton.com
Use a big star or writing tip, and form an angle of 45 degrees. When the tip touches the surface, tighten and move it up and down, forming a shaped curve of an S. Remove the pastry bag, and repeat the process from the bottom-up, to give the rope shape.
Cake Decorating Blog Posts
You can get more information, tips and ideas on our blog, where we have a category with cake decorating blog posts.
Cake Decorating Classes
-
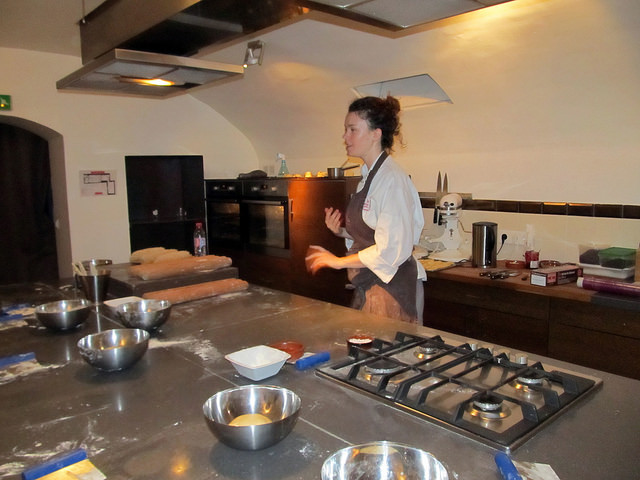
Image by Francis the Pastry Chef - If you have tried cake decorating before without previous knowledge, it is normal to make a few mistakes. This doesn't mean you're not good at decorating cakes. Just take notes of the decorating tips you can find here and put them into practice the next time you're going to decorate a cake.The best way to achieve a high level and master the art of cake decorating is taking classes. That way, you will have the guidance of a professional who will teach you what you really need and will be able to answer all of your questions.
Fondant Decorating
-
Image by mazaletel
Working with fondant requires not only patience but a lot of technique and attention to details. Fondant decorating it's the most popular technique for cake decorating. There are 3 different types: rolled fondant poured fondant and fondant for sculpting (perfect to make wonderful cake toppers). Before getting to the tips for fondant decorating, we need to get the recipes.
There are plenty of variations. You need to try them until you get to the recipe that works the best for you.
Rolled Fondant
Ingredients
- 2 pounds of powdered sugar
- 1/4 cup of water
- 1 tbsp of unflavored Gelatin
- 1/2 cup of Glucose
- 1 1/2 tbsp of Glycerin
- Flavoring of your choice
Preparation
- In a double boiling pan (this is the double boiler technique; it's the same used for the Swiss meringue), put the gelatin in water, medium heat, just enough to dissolve it.
- In a large bowl, sift the sugar then make a well in the center.
- Mix the glucose and glycerin with the dissolved gelatin.
- Pour the mixture (glucose, glycerin, and gelatin) into the well.
- Start mixing with a spoon until the ingredients are combined then switch to your hands and work it until you get a nice consistency.
- At this point, if you're going to add flavor and color, add them, and mix again.
Tips for Fondant Decorating
- Always ice your cake before applying the fondant cover. Try to leave a perfectly flat surface. This way the fondant is going to look perfect.
- Dust your working surface with powder sugar.
- It is preferable to have in your supplies a silicone rolling pin.
- Turn the fondant about a 1/4 turn after you roll a few times with your rolling pin.
- When you apply the fondant to the cake, place it over the cake carefully then start working the top with a fondant smoother by pressing lightly.
- Cut away the excess you're going to get on the bottom of your cake.
Poured Fondant
- 6 cups of sifted powdered (confectioners) sugar
- 1 cup of water
- 4 tablespoons of corn syrup
- Candy-thermometer
- In a saucepan, add the sugar.
- Mix water and corn syrup and add it to the sugar. Stir until is well mixed.
- Take it to a medium heat. The temperature must not exceed 100°F. Use the candy-thermometer to monitor the temperature.
- When the mixture reaches its temperature, remove it from the heat. If you overcook it, the sugar will turn brown.
- Add the essence or extract and the icing color of your choice and whisk until it combines.
Fondant for Sculpting
Ingredients
- 1 tbsp gelatin
- 1⁄3 cup water
- 4 cup powdered sugar
- 1⁄2 cup cornstarch
- Food coloring of your choice
Preparation
- Dissolve the gelatin, adding just enough water. Use the microwave on high power for a few seconds.
- In a large bowl, combine the sugar and the cornstarch.
- Make a well in the center, add the gelatin you dissolved before, and stir with a wooden spoon.
- When it's combined, switch and use your hands, knead until the sugar is incorporated.
- Take to a Formica or marble surface previously greased. Knead until you get the desired texture.
- If it's needed, you can add some more drops of water and knead until the fondant is smooth and satin, but if it's too sticky, you can add some more powdered sugar.
Don't forget to keep your fondant well wrapped in plastic, because it dries real quickly.
Cake decorating is a very creative activity where you can apply all the ideas you have in your mind. The key is to be organized, to plan in advance your cake decoration theme, and then just apply the techniques available you love the most.
Cake Decorating Classes Austin Texas
Source: https://creativiu.com/cake-decorating/
Posted by: harrispresucest.blogspot.com
0 Response to "Cake Decorating Classes Austin Texas"
Post a Comment